 Getting Started
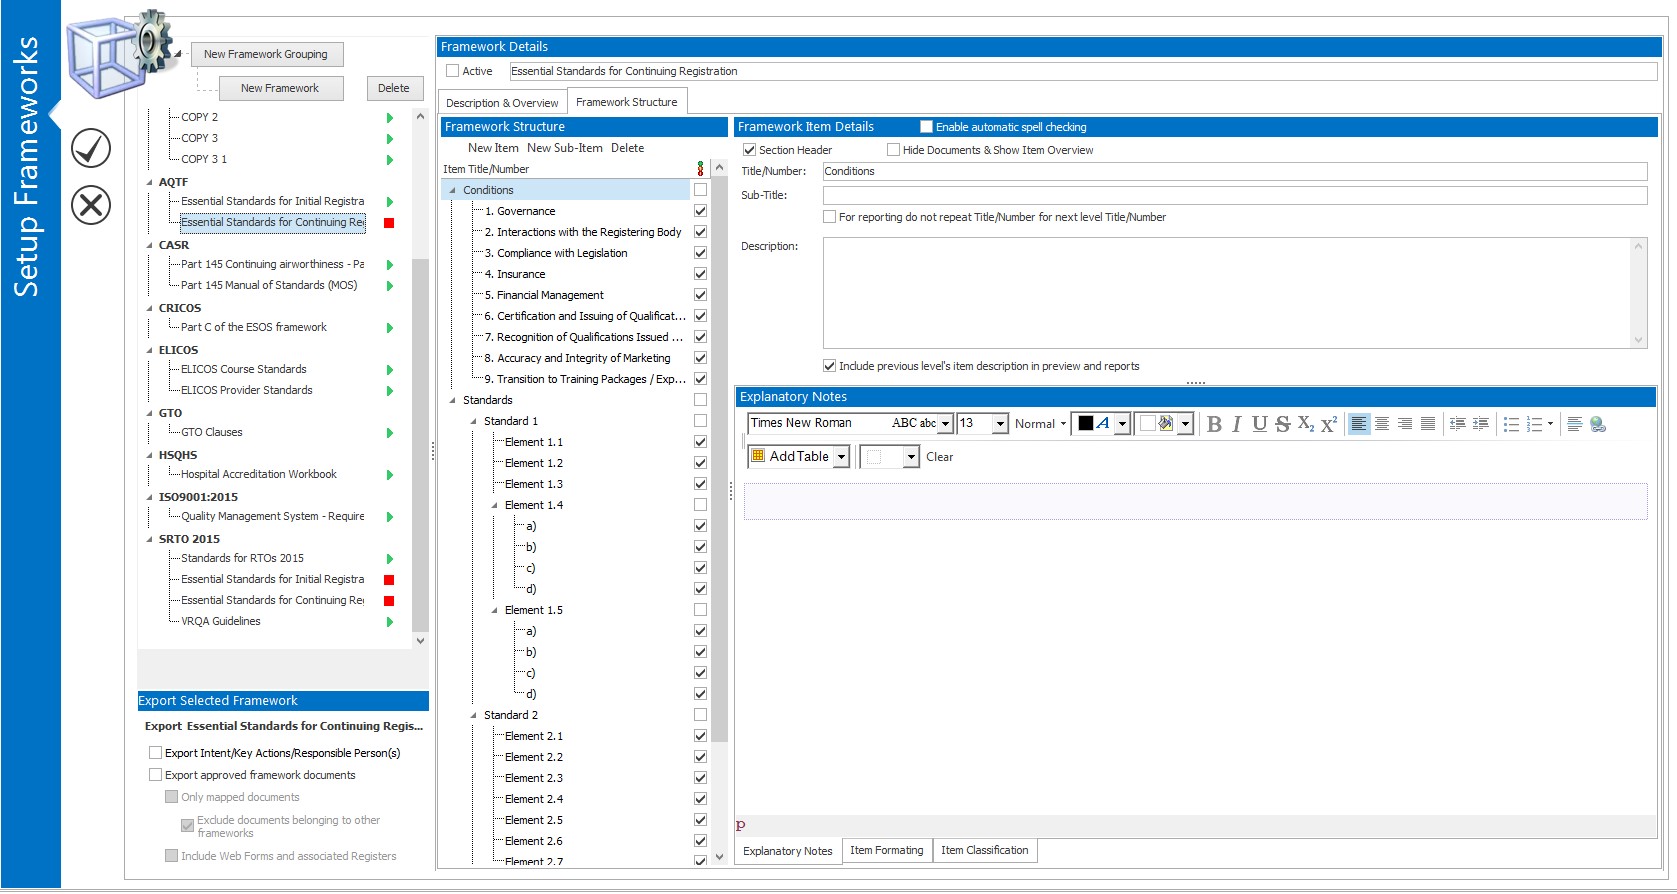
To create a framework, click on the Setup Frameworks button on the bottom right-hand corner of the Framework Selection Button.
OR
Go to Tools/Config and select Framework Setup. 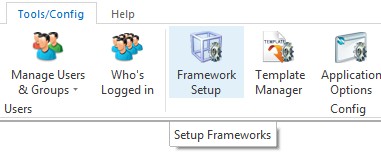 Both of these buttons take you to the Setup Frameworks section shown in the image below. You will be able to see the setup of all the frameworks in your system. |
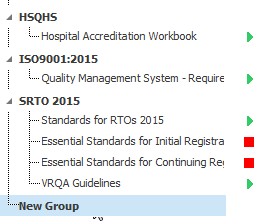
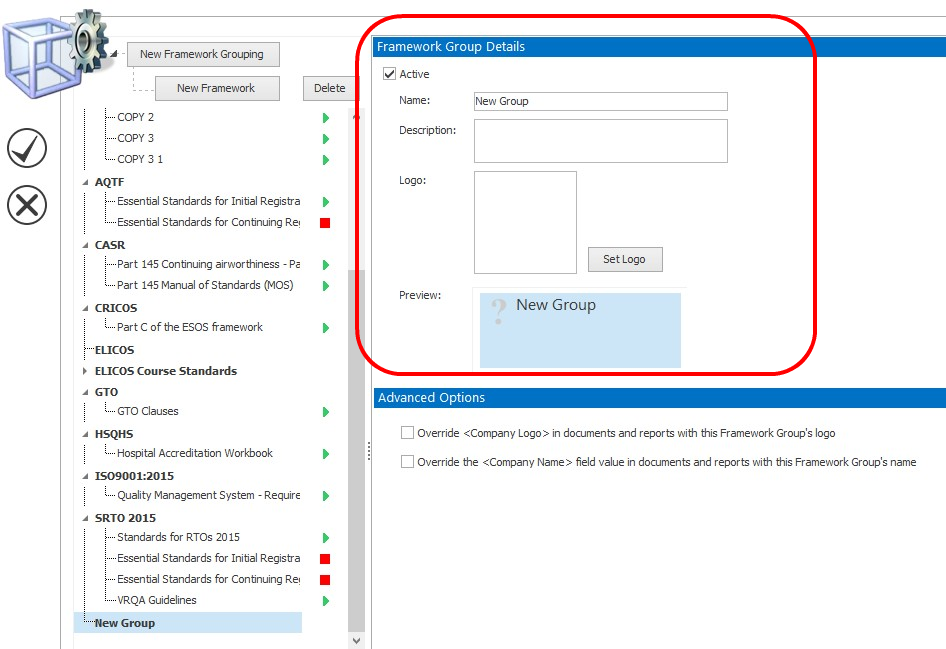
 Creating a New Group
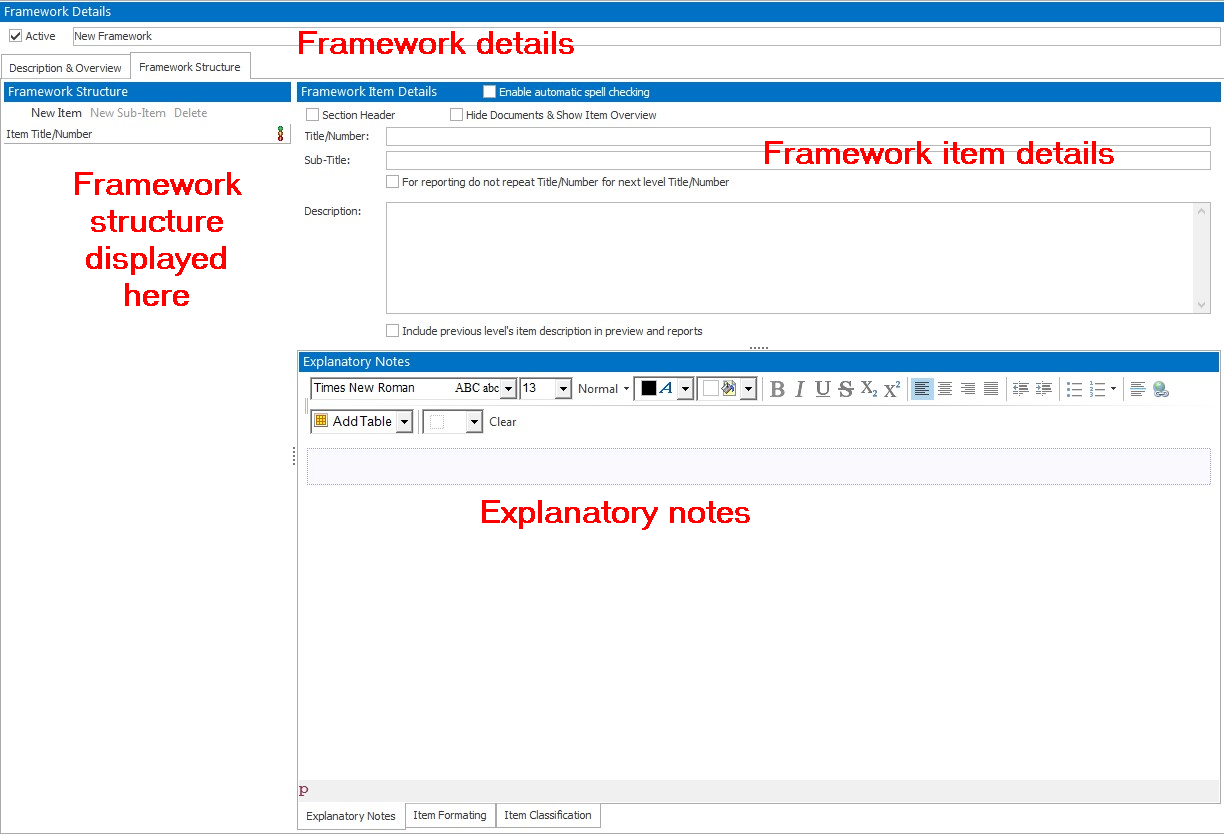
 Creating a New Framework
 Duplicating Frameworks
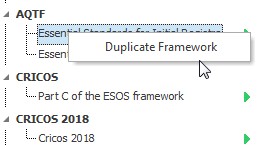
The Framework Setup options also enable you to duplicate frameworks. To duplicate a framework
1.Right click a framework in the framework list and select Duplicate Framework. 2.Assign a name to the duplicate framework. 3.Specify which framework synchronisation options you want to apply to the framework. 4.Select Apply.
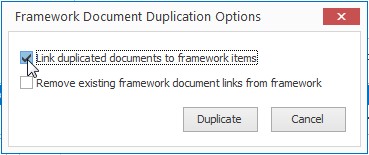
Once a framework has been duplicated, you can also duplicate the documents and links from the original framework. To do this:
1.Create a new framework group and drag and drop the duplicated framework into that group. 2.Right click the duplicated framework and select Duplicate Documents and Links from Original Framework. 3.Select the relevant options in the window that opens up. If Link duplicated documents to framework items is enabled, documents will be duplicated and linked to the framework's items in the same way as they are linked in the original framework. If Remove existing framework document links from framework is enabled, any documents that had been linked to the duplicated framework prior to the duplication of the documents from the original documents will be unlinked. If you leave both options disabled, the documents from the original framework will simply be duplicated and will not be linked to any standards. 4.Once you have selected your options, select Duplicate. |
 Developing a Framework Structure
To start creating your framework structure:
1.Select New Item as shown below or press the Insert key on your keyboard.
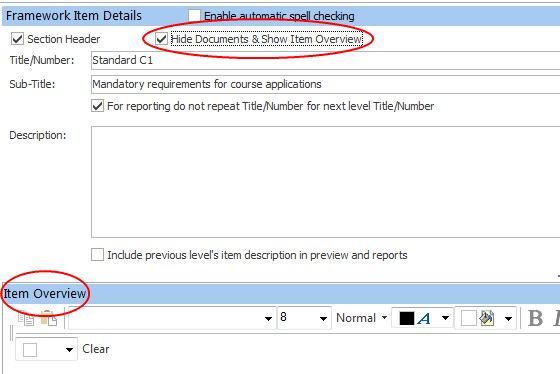
2.A new item will appear in the Framework Structure panel. This item can be made into a header by enabling Section Header as shown below:
3.Type in the title or heading in the Framework Item Details panel. The title will change automatically when you create the next item or you can press the Enter key on your keyboard so that the title is entered in the framework structure. 4.Enable Hide Documents & Show Item Overview to create an overview page that is attached to the header. If this is enabled, an overview of the item will be displayed rather than a document list. Enter the overview in the Item Overview section as shown below.
5.To create an item under the header click on New Item (Insert) again. Give your new item a title as described above. In the Framework Item Details panel you can also give your item a sub-title and a description. The description can be used to tell users what standard the item represents. You can also add Explanatory Notes which can be very helpful.
6.Create sub-items under existing items by clicking New Sub-Item or using the Ctrl+Insert keys on your keyboard.
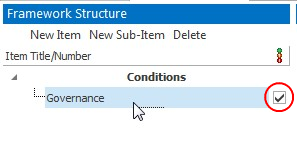
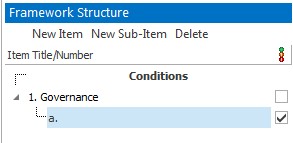
7.Give your new sub-item a title, description etc. as explained above. Below is an example of a sub-item for 'Governance'. Note that an unlimited amount of levels can be created.
8.To delete an item, select the item and select the Delete button that is next to the New Sub-Item button. A new item or sub-item will always be inserted under the item that is highlighted.
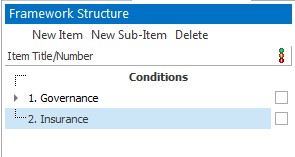
9.To create a new item at a parent level, select the previous parent level and insert a new item. In the example below the framework builder selected 'Governance' and then New Item to create the new 'Insurance' item. The little arrow to the left of an item allows you to expand and collapse the item.
10.Select the Save/OK tick to save your work! |
 Activating and Deactivating Your Framework
In the image below you will notice the green and red Play and Stop buttons beside the frameworks.
Play button - Indicates that a framework is active.
Stop button - Indicates that the framework is inactive.
To deactivate a framework click on the Play button beside the framework and it will become a Stop button. To activate a framework click on the Stop button and it will became a Play button.
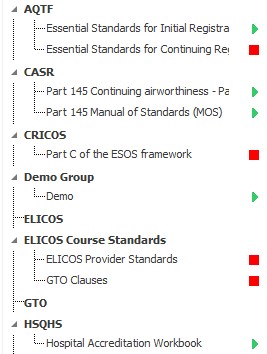
Another way to activate or deactivate frameworks is to tick/untick the Active check box in the Framework Group Details section or the Framework Details section:
 
|
 Your New Framework in the Traffic Light System
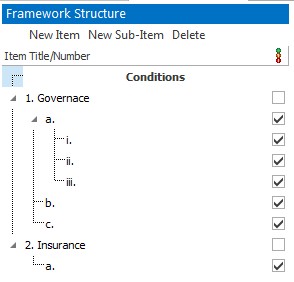
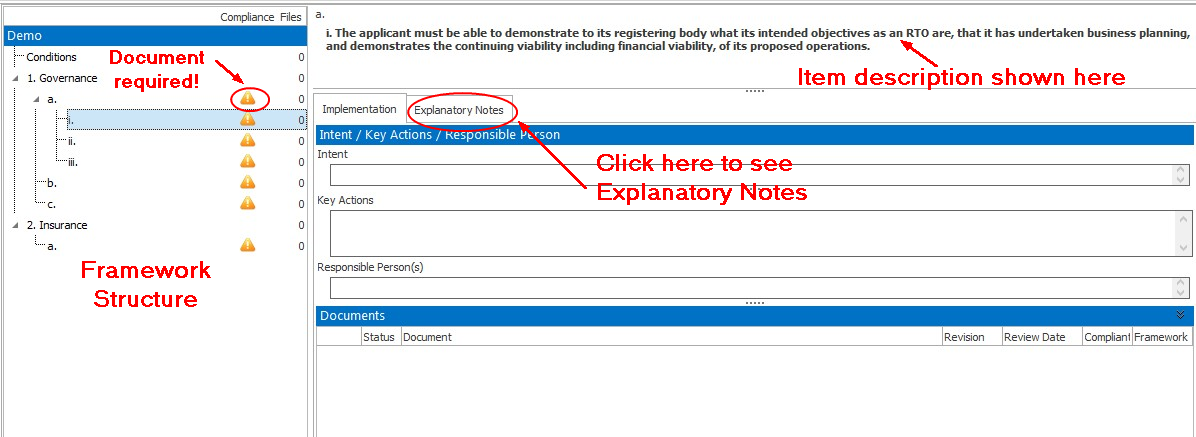
Below is an image of what the example framework in the section above (Developing a Framework Structure) looks like in the Traffic Light System. •On the left-hand side you can see the sample structure created in the section above. •The attention symbol is beside all the items that were ticked when the framework was created. You will need to link documents to these items! (See Using the Traffic Light System .) •The item description is shown to the right of the Framework Structure and you can see Explanatory Notes by click on the Explanatory Notes tab as shown below.
|
